Rinjani: What To Expect When Climbing To the Summit of Mount Rinjani (Indonesia’s Second Highest Volcano)
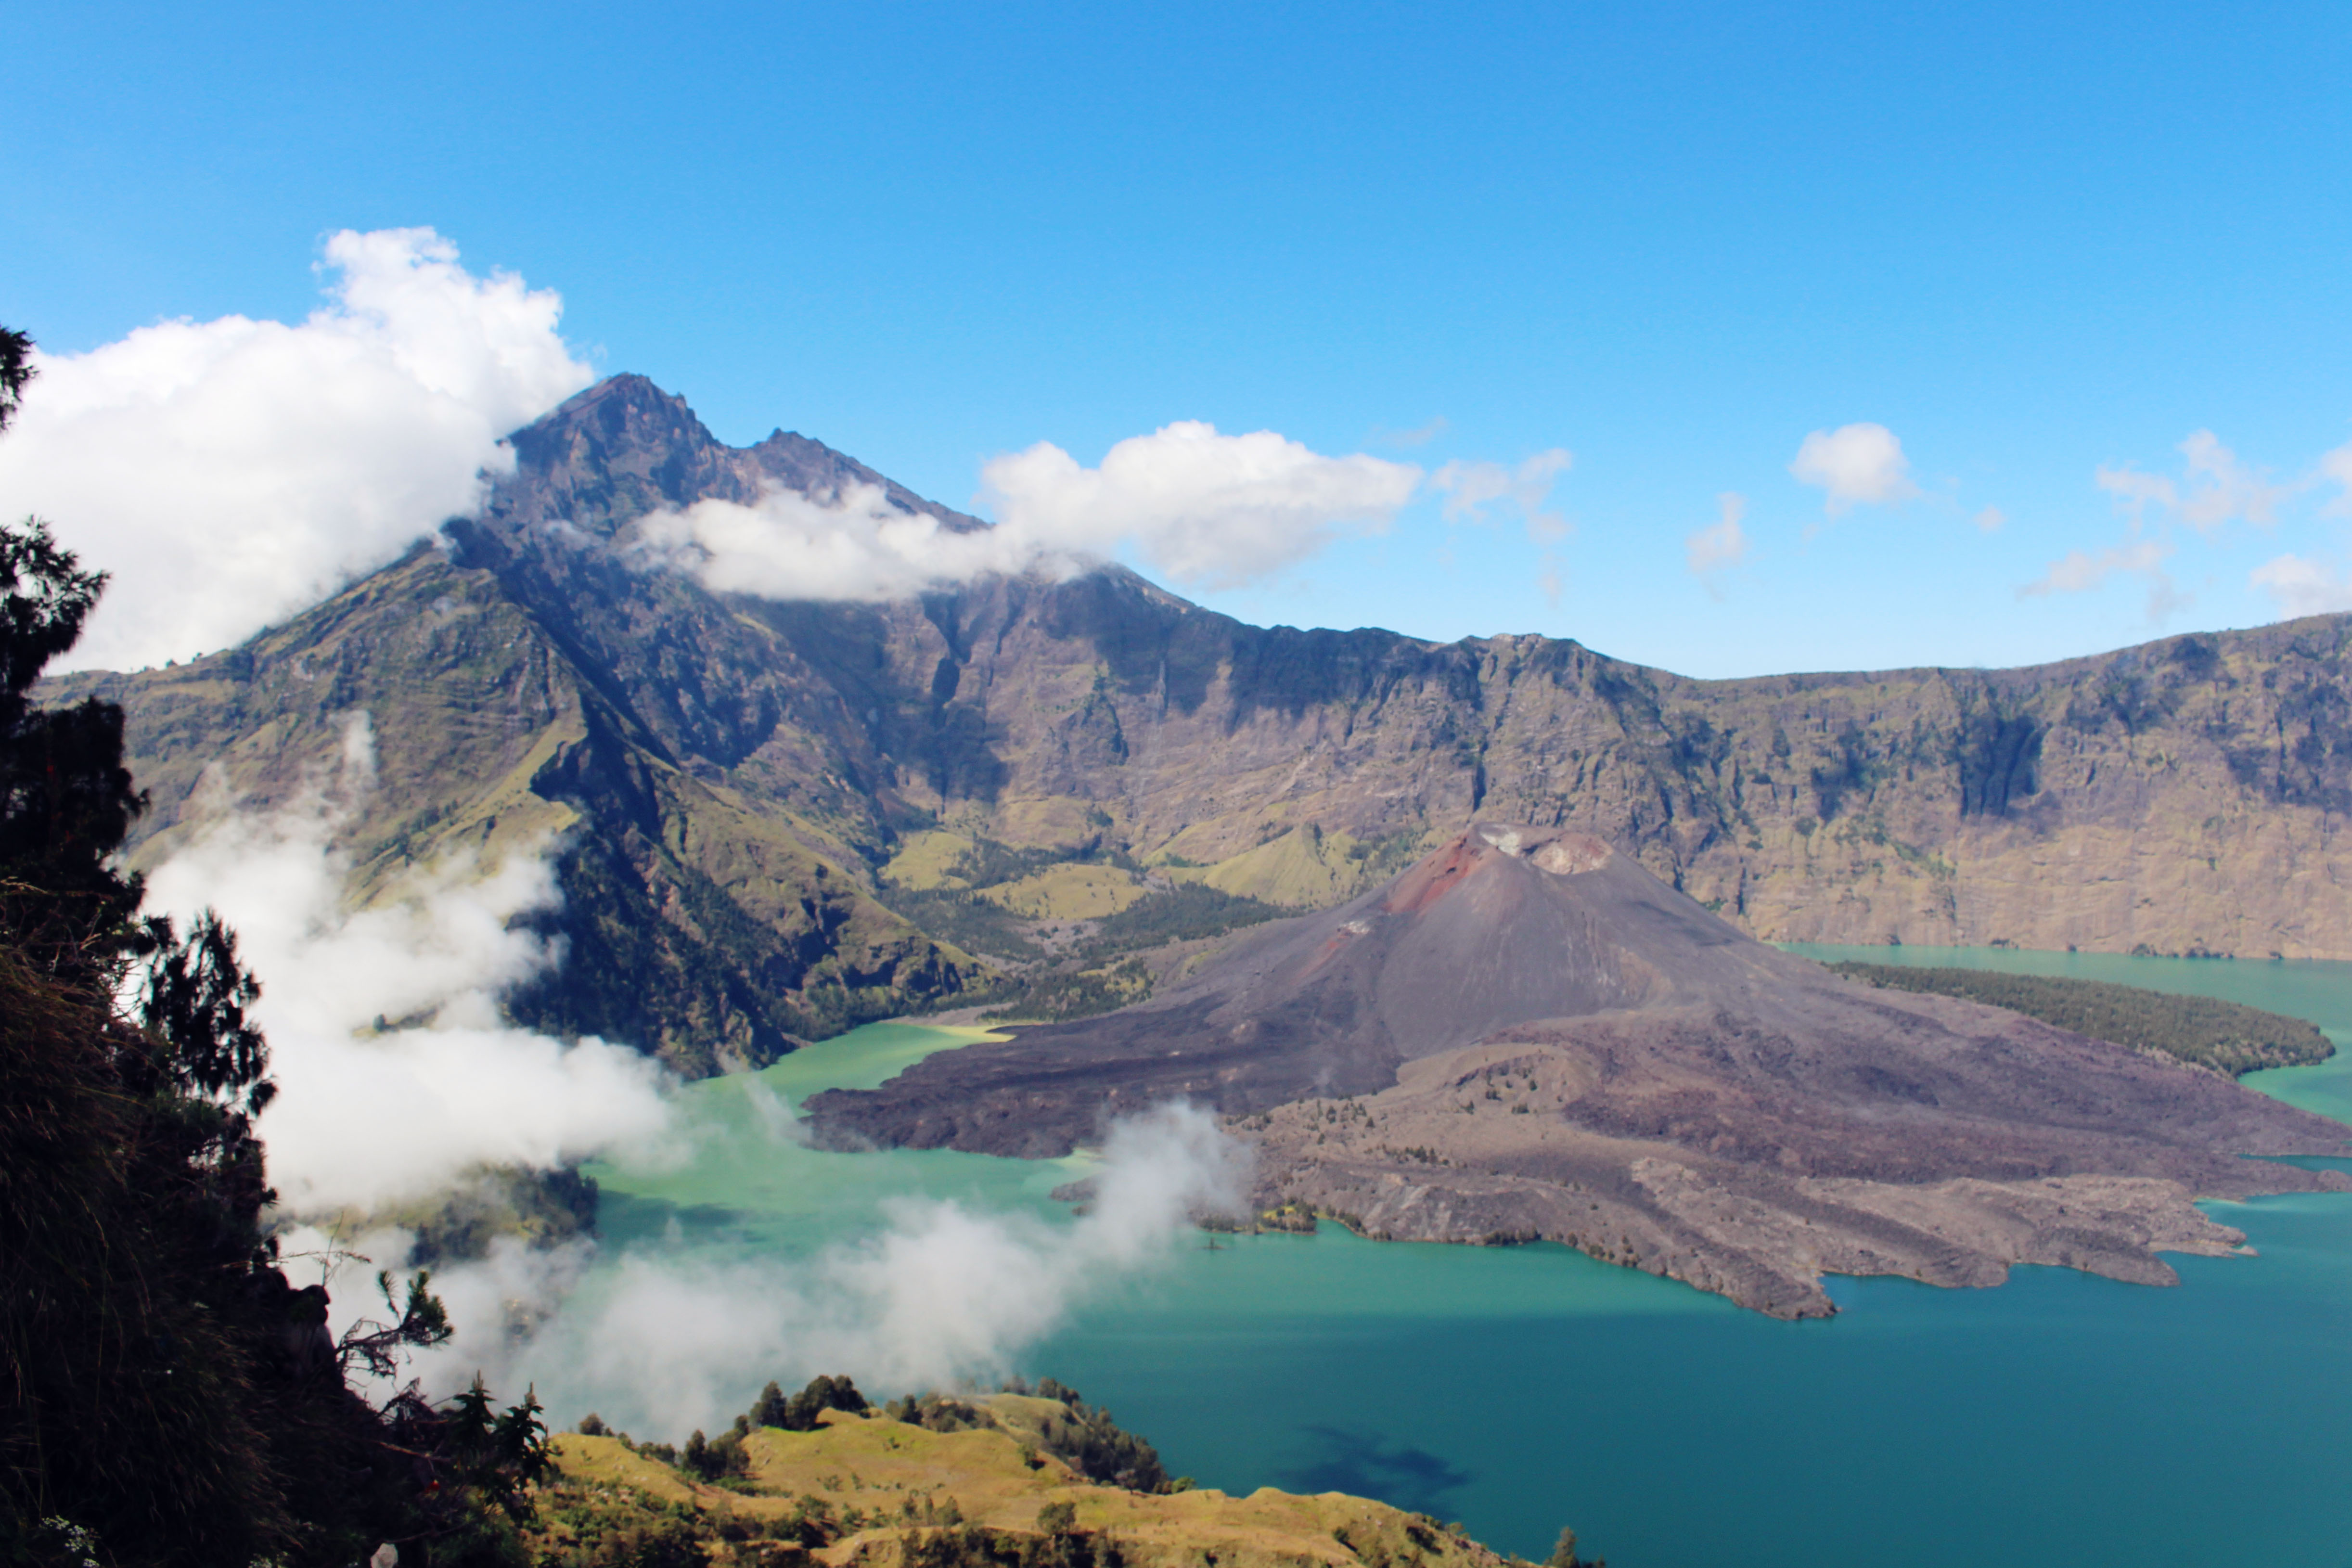
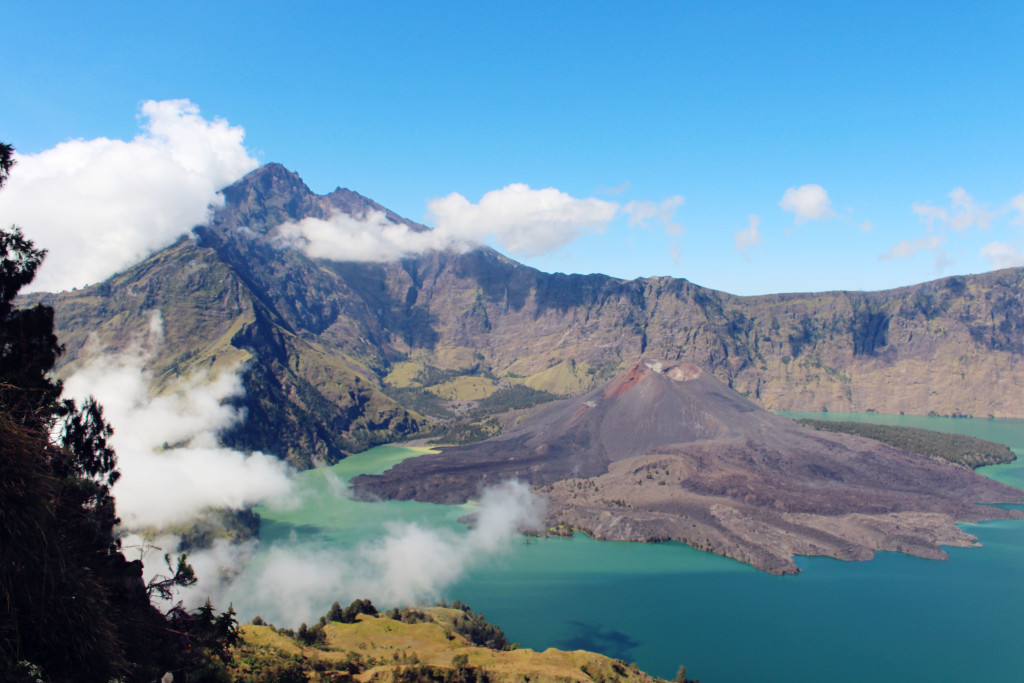 Standing at 3726m tall, Mount Rinjani is the second highest volcano in Indonesia that boast breathtaking views from its crater rim and is situated on the island of Lombok. On top of the volcano lies a huge 50 square km caldera that is partially filled by the crater lake, Segara Anak (Child of the Sea). The caldera contains hot springs that are sacred to the Sasak and Balinese.
Due to frequent eruptions within the caldera, a crater cone aptly named Gunung Barujari (Finger Mountain) was formed and is still active, with its most recent eruption dating last October, 2015. Update: Mount Rinjani erupted recently in September 2016.
The climb up to the peak is moderately challenging and requires climbers to be healthy and physically fit as sandy and rocky trails line the route. However, prior mountain climbing experience is not necessary which makes it a great destination for beginners in search of an adventurous trek.
The itinerary/route that we are sharing is just one of the many ways you can get to the peak of Mount Rinjani and in our opinon, one of the best ways to get there. We spent a total of 3d2n hiking on the trail with the first night staying over at a hotel.
We started our climb from the eastern side of the mountain – which happens to be closer to the summit – and ended our trek on the northern side of it. We will share some tips and quick facts below on how to find the guide service that is suitable for you.
If you have always wanted to challenge yourself both mentally and physically, love the outdoors and want to do something different from the usual beach/city holidays then this is for you. We promise you won’t have any regrets!
Day 1
Pondok Gunung Baru – Relax and prep for the next 3d2n of trekking
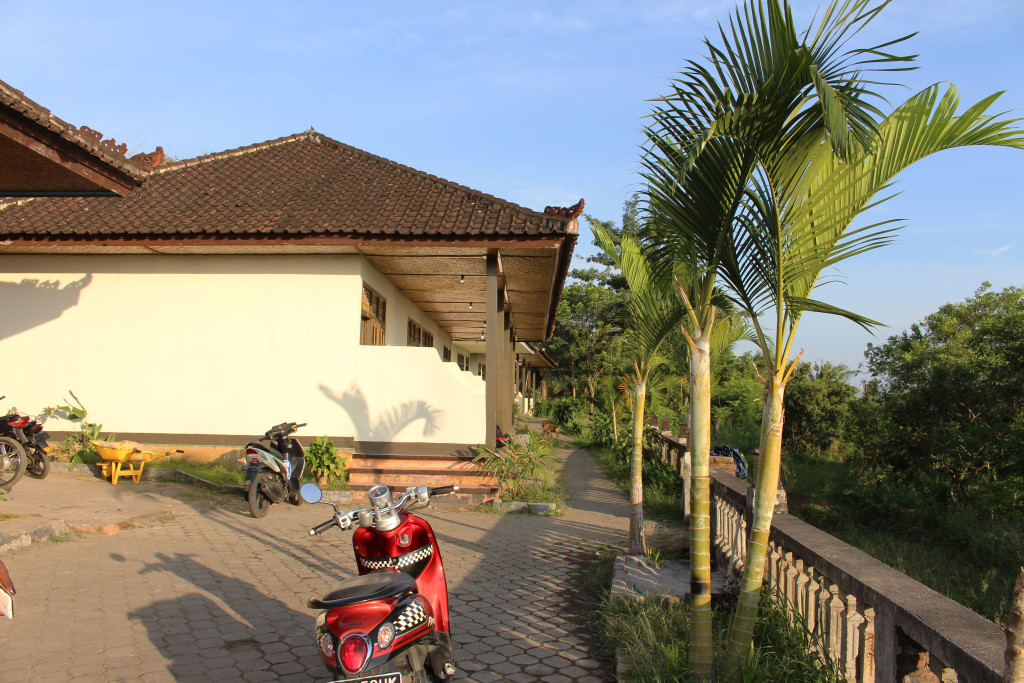 After arriving at Lombok International Airport, it will take you about 3 hours by car to get to Senaru, Sembalun Lawang. Over here, you will spend the night in a hotel at the foot of Gunung Rinjani.
Take a bath as you would not be able to shower for the next few days during the trek. Have an early night and remember to pack your bags before heading to bed. You will have to set off extremely early the next day!
Day 2
Rinjani Information Centre – The beginning of a new adventure
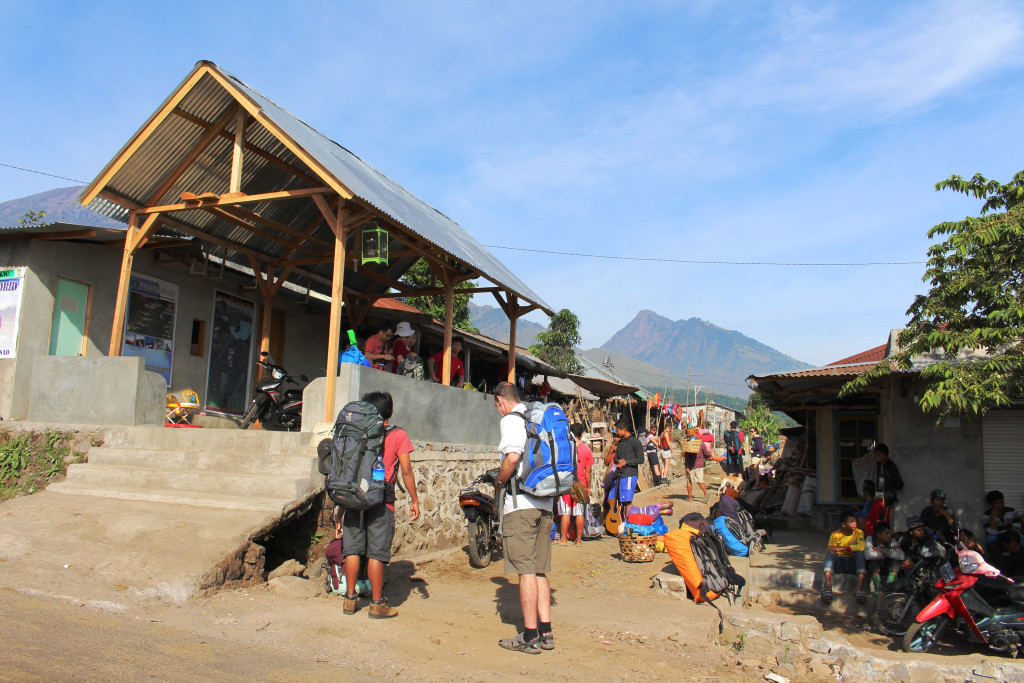
Upon arrival, your guide will brief you on your trekking route. He will also point out the designated pit stops for lunch, dinner, camping sites etc on the map of Gunung Rinjani. You will get to use a proper toilet for the very last time and grab any last minute snacks before the climb.
Do some simple stretches before you commence your trek! And do not forget to apply sunblock. With that, you’re all set to go.
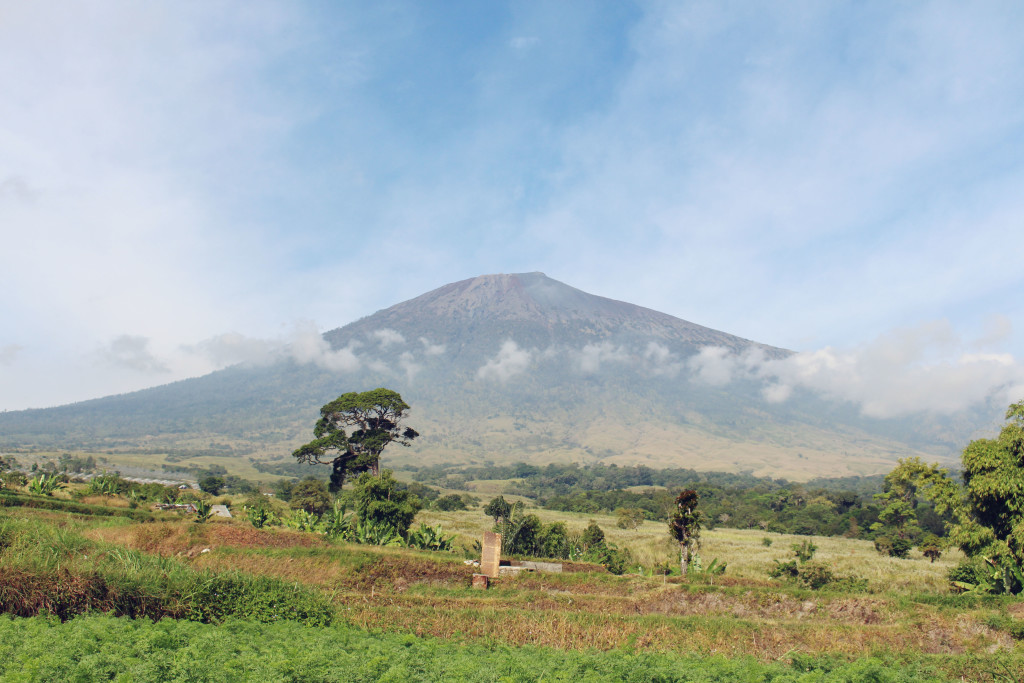
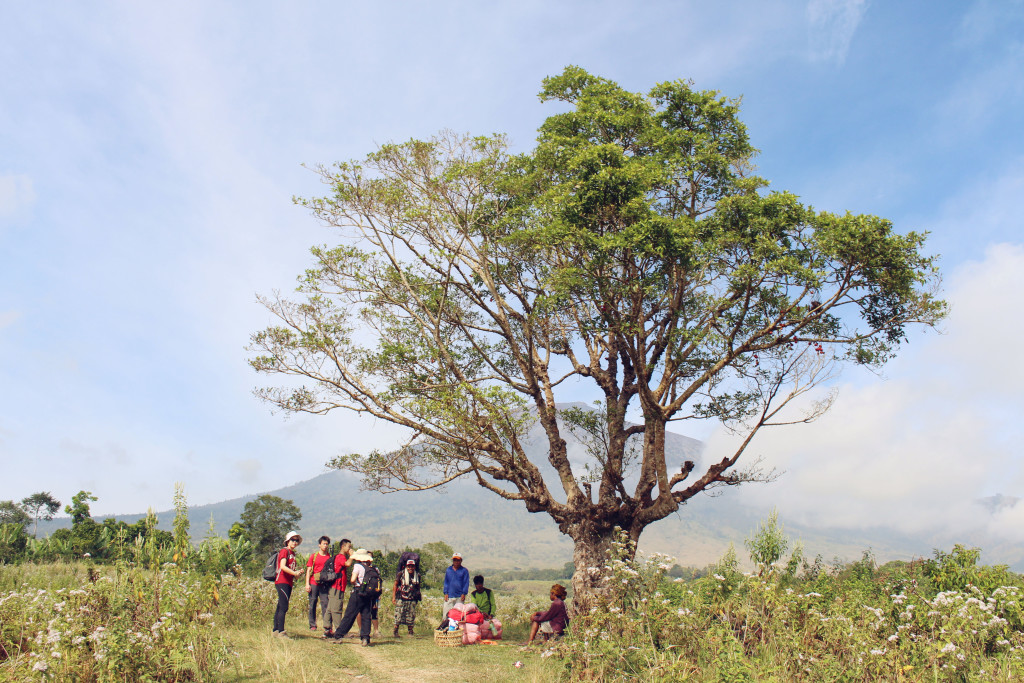 It would take you over an hour before you arrive the foot of the volcano. Enjoy the lush greenery and the flat terrain you are walking on because you will soon be scaling heights! Do hydrate regularly as you would be hiking for the next 6 – 8 hours (depending on the speed of your group). If you do not have a walking/climbing stick, you can look out for loose branches or ask your guides to help you look for one.
Lunch Break – Replenish your energy after 2 hours of trekking
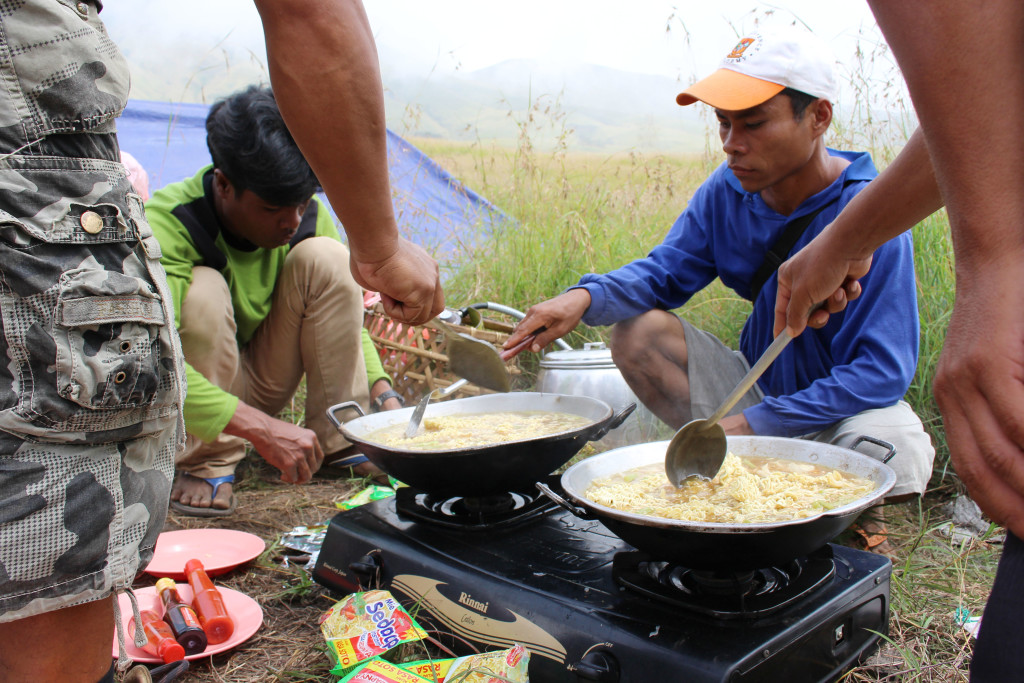
 Ever wondered how your meals would be like during your trek on Mount Rinjani? Would they build a campfire? Use solid fuel for cooking? What kind of meals would you have?
Well, campers would be happy to know that woks, a portable gas stove and a variety of food will be brought up by the porters to ensure that you are sufficiently fed during your entire trek!
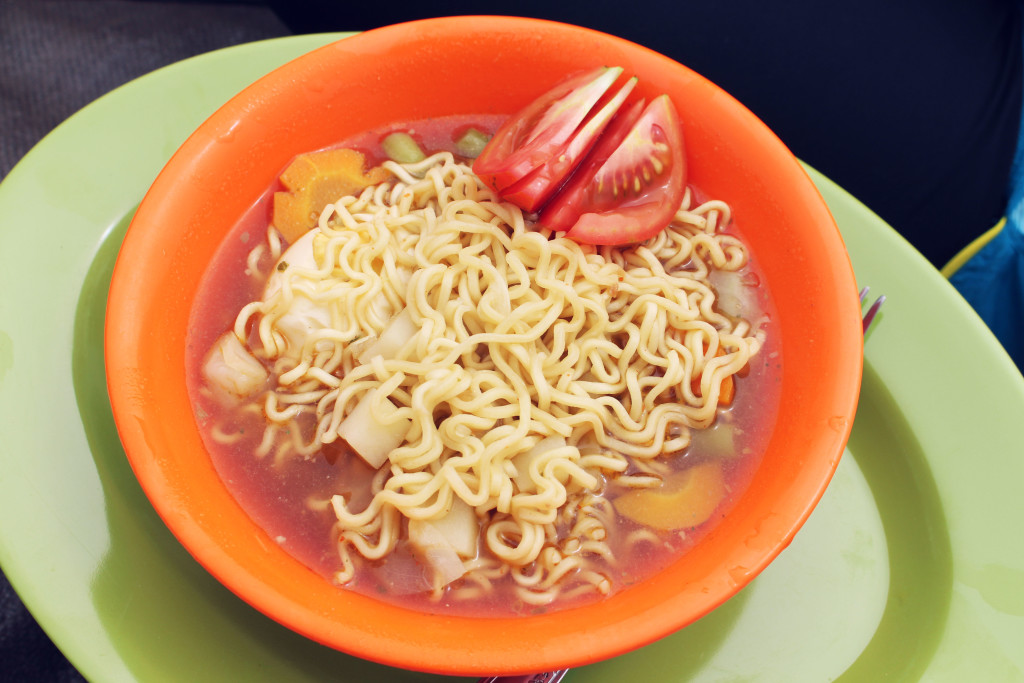
For our first meal on Gunung Rinjani, we had a bowl of noodle soup with carrots, potatoes and tomatoes. They also provided us with fruits for an after meal snack and small bottles of isotonic drinks. These beverages kept us hydrated and energised for the rest of the journey.
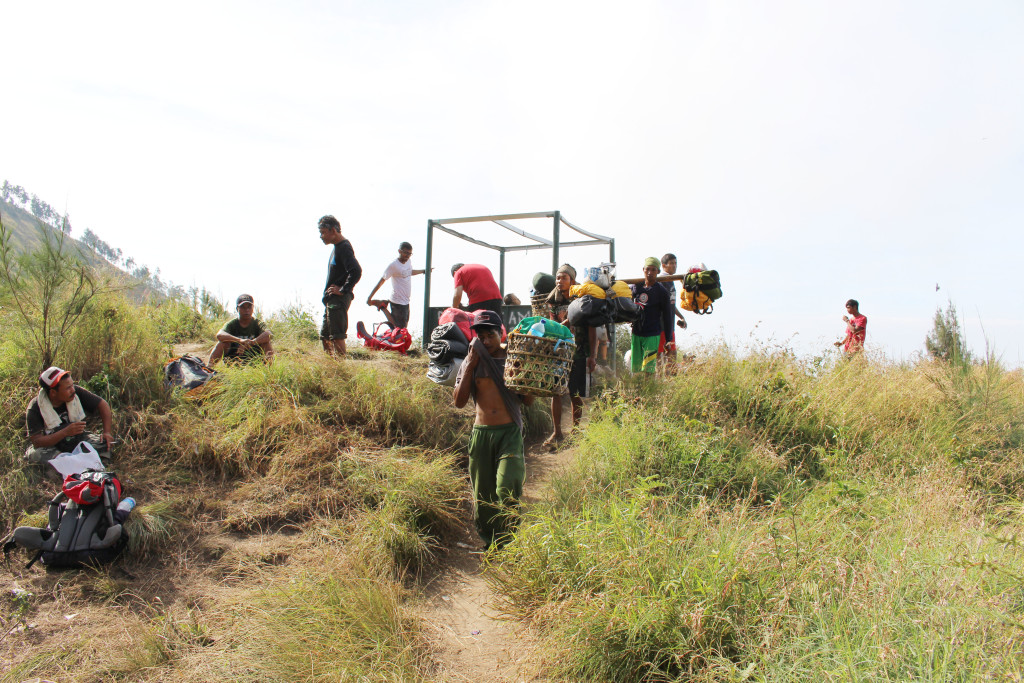
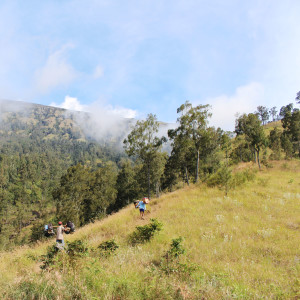
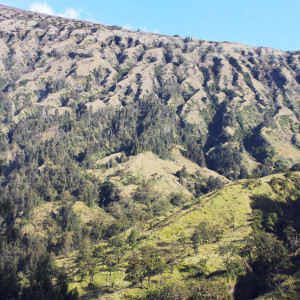
The climb almost seemed like a never ending journey, but looking at porters after porters brisk walking past you would keep you motivated. Indeed, it pushed us to continue moving upwards.
These porters carry huge loads – tents, your sleeping essentials, cooking ware, food, liquids (water and isotonic drinks!) and your baggage – but they move like the wind, whizzing past you and disappearing from your sight moments after.
We applaud them for their hard work and are grateful for their help. Despite having to juggle the heavy load on their shoulders, they are ever ready to lend a helping hand to assist you should you face any difficulties finding your footing/balance.
Plawangan 2 Crater Rim – The end of day 2 and your first camp site
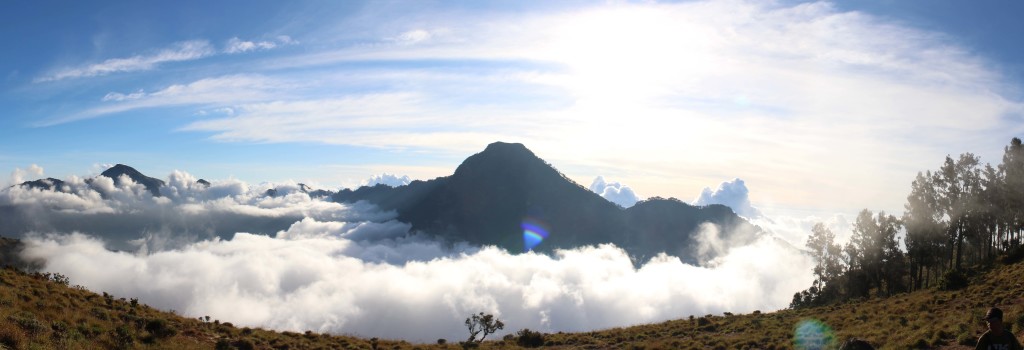
After an arduous day of hiking, you know you have reached your final destination of the day when you finally emerge above the clouds. Nothing is more rewarding than this picturesque view and realising how high up you have scaled. That sense of accomplishment would allow you to let out a sigh of relief that a hard day’s work is finally over!
When you are done admiring the view and waiting for your other group mates to get to the top, your guide will lead you to your campsite where you can kick off your climbing shoes, let down your hair and continue enjoying the scenery.
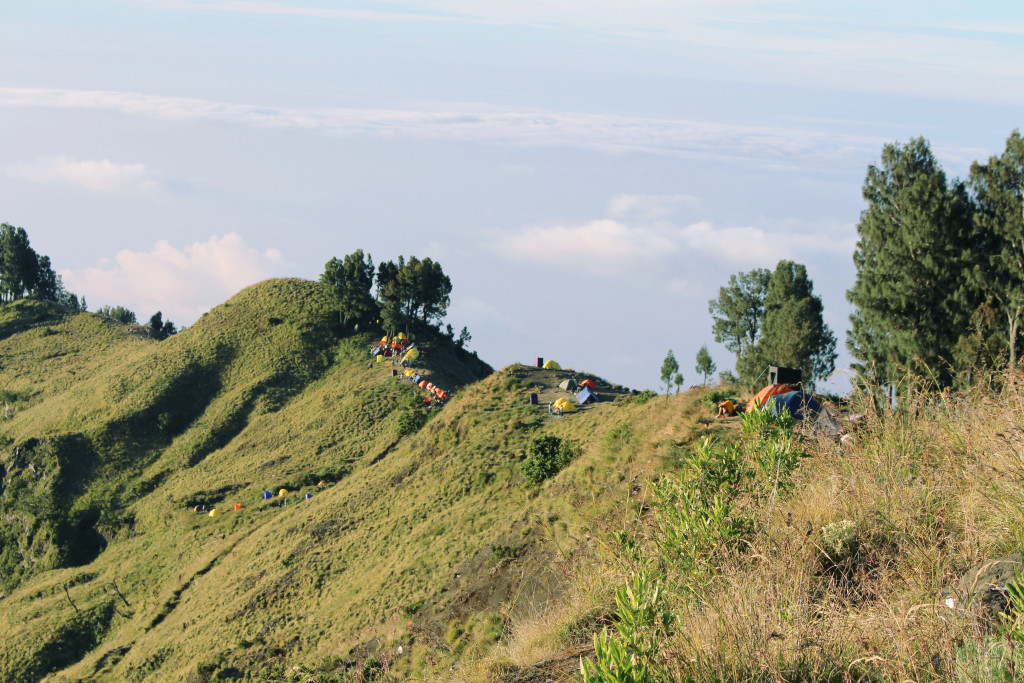 Look to your left or your right and you will know that you are not alone. You can also get a better view of the Crater Rim where everyone would nestle for a night, it is an experience like no other! These other campers nearby will accompany you and might even encourage you and/or motivate you when you embark on your sunrise trek to the summit in less than 10 hours.
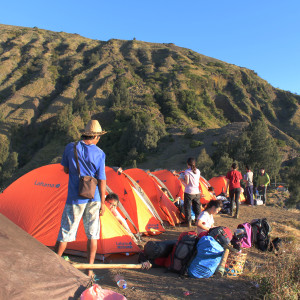
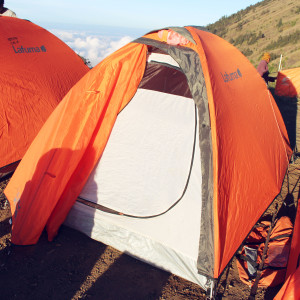
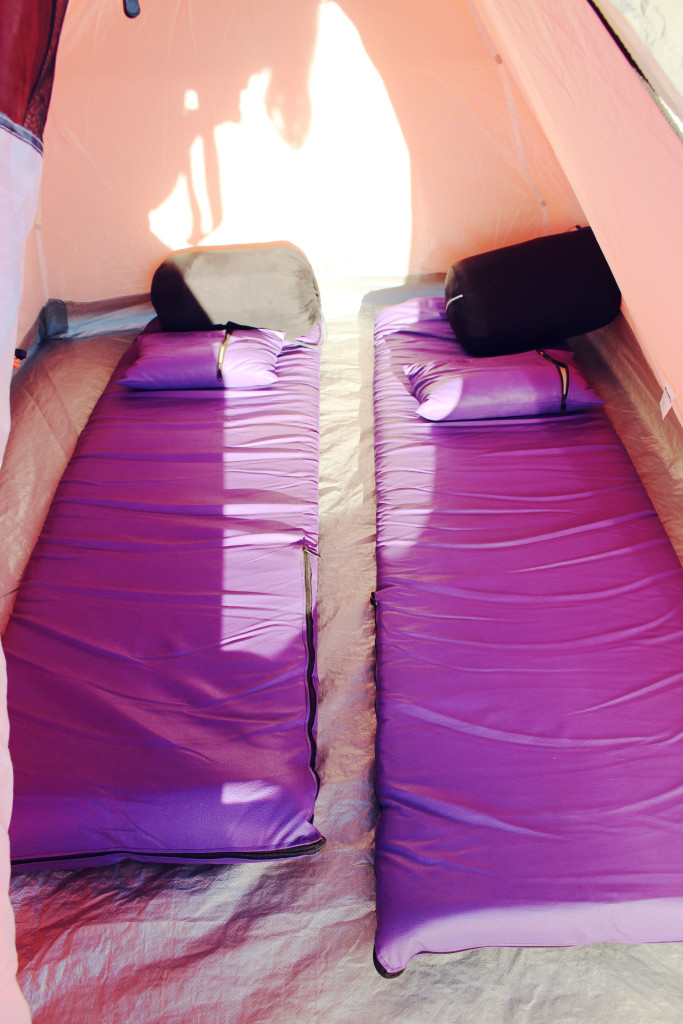
Each tent can house up to 2 pax and comes with a pillow, a mattress and a really thick sleeping bag. The temperature up on the crater rim can go down to 3 degrees and this is when your fleece jacket and warm clothes will come in handy.
The night before the climb – Scrumptious dinner followed by star gazing
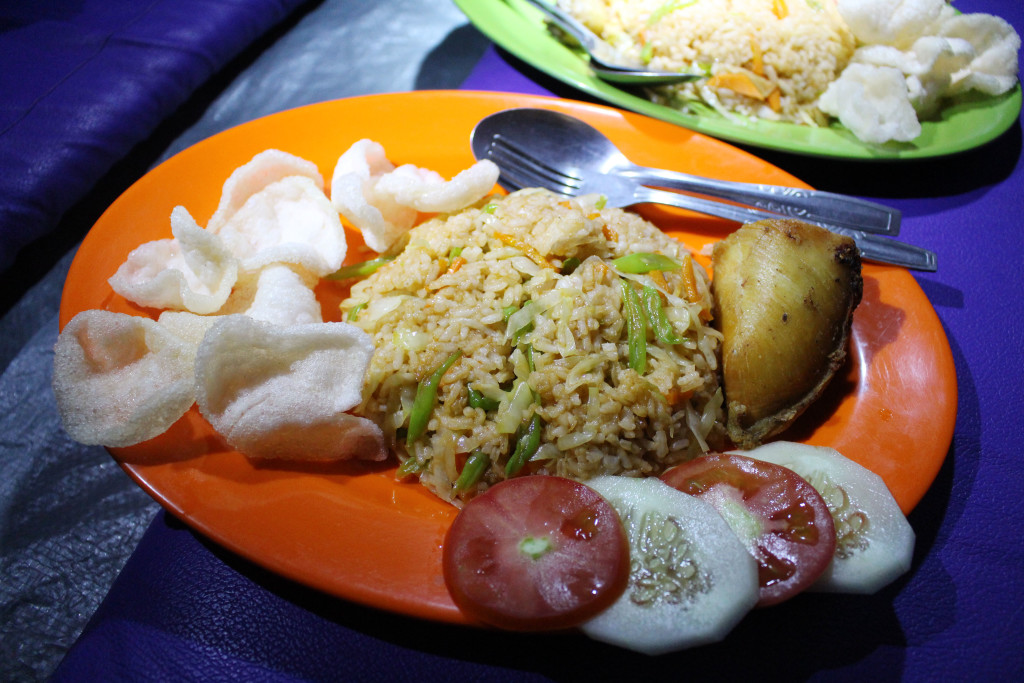
Who said camping food has to be pathetic? Look at the splendid spread – keropok, fried rice with vegetables, kampong chicken with cucumbers and tomatoes. We honestly were not expecting this, but it was exactly what we needed after a physically-exhausting day. We gobbled our dinner within seconds.
But do not slip a food coma right after dinner! Remember to catch the dazzling night sky once it becomes completely dark outside. We popped our heads out of the tent at approximately 8pm and to our amazement, we saw the Milky Way.
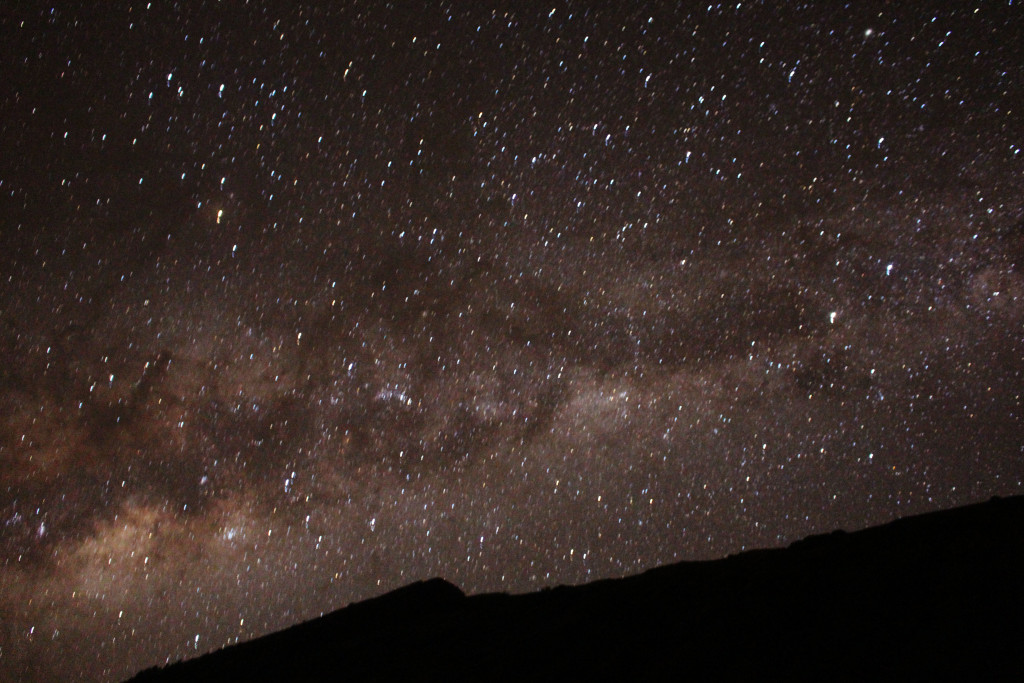
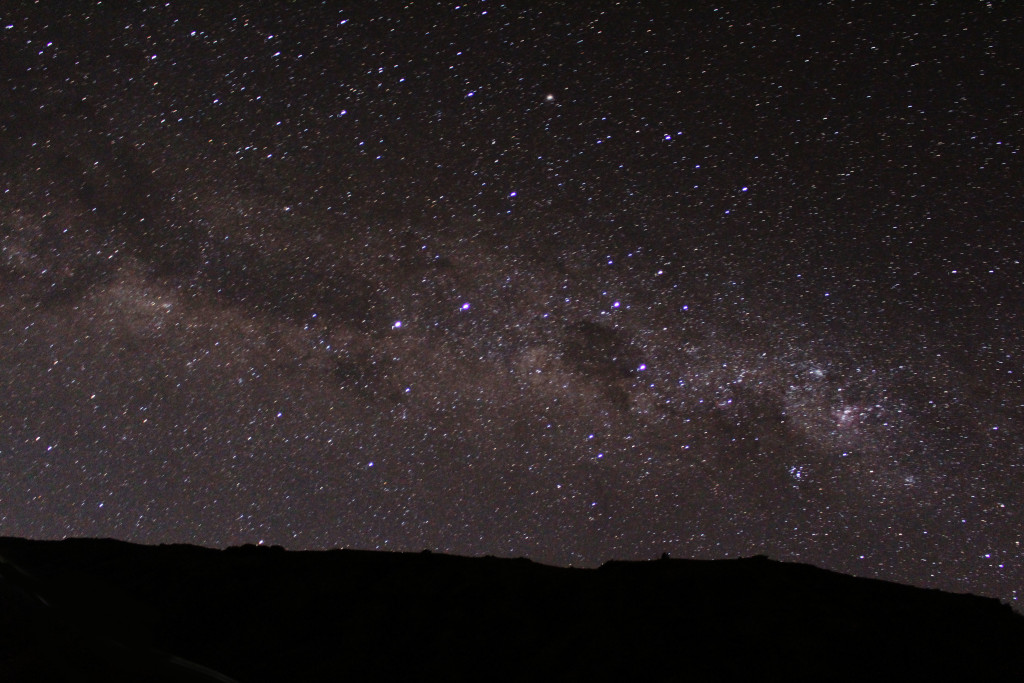
For those who have never seen the milky way and always wanted to catch a glimpse of it, this is your chance! Unzip your tent, look up towards the sky and be enthralled by the beauty of nature. These pictures were taken without a tripod stand, because we did not expect to see such a magical sight. But we knew we had to photograph this ethereal moment.
When you are done with stargazing, make sure you turn in early (preferably by 8.30pm) because you would need all the energy for the next day!
Day 3
Sunrise Trek to the Summit – the battle of the screes
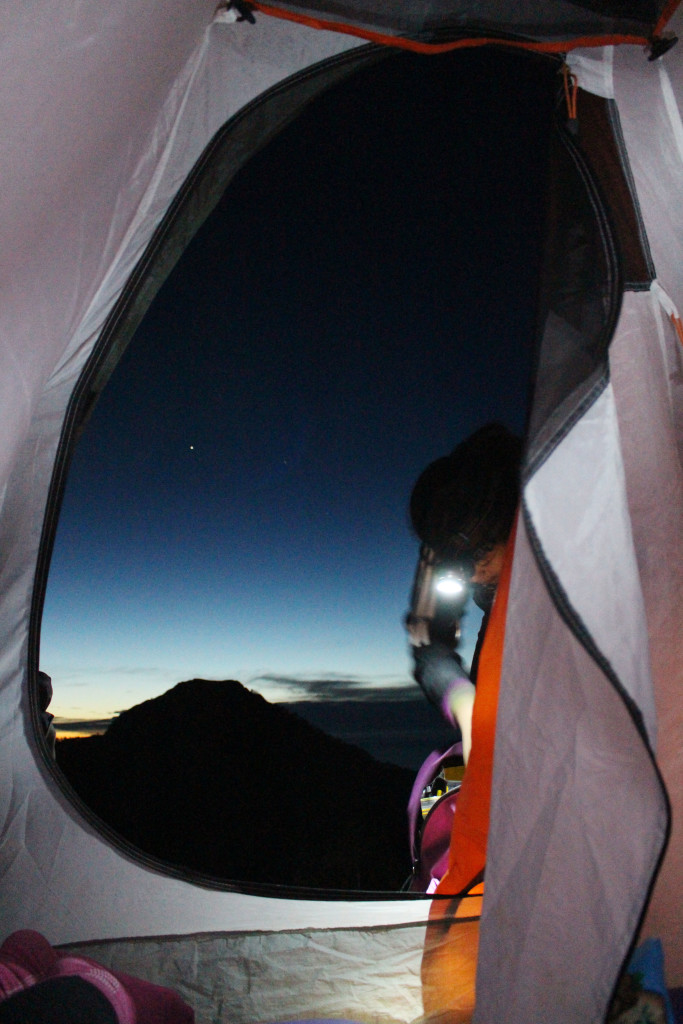
Make sure you have at least 5 hours of sleep as the day ahead would be even longer and more tiring. For those of you who decided not to engage a porter to carry all your belongings, you would be happy to know that you would not need to carry them up to the summit with you as you would be coming back down to the campsite for breakfast after the summit trek.
We advise you wear gloves, long pants and have a thick jacket as it would be icy cold while the sun is still at bay. It is also imperative that you bring along a scarf or any sort of cloth that would cover your face from the cold winds and/or the sand during the summit trek.
Based on our experience, having a backpack with you is essential for storing your clothes when it gets too warm during the trek (i.e. when the sun comes up).
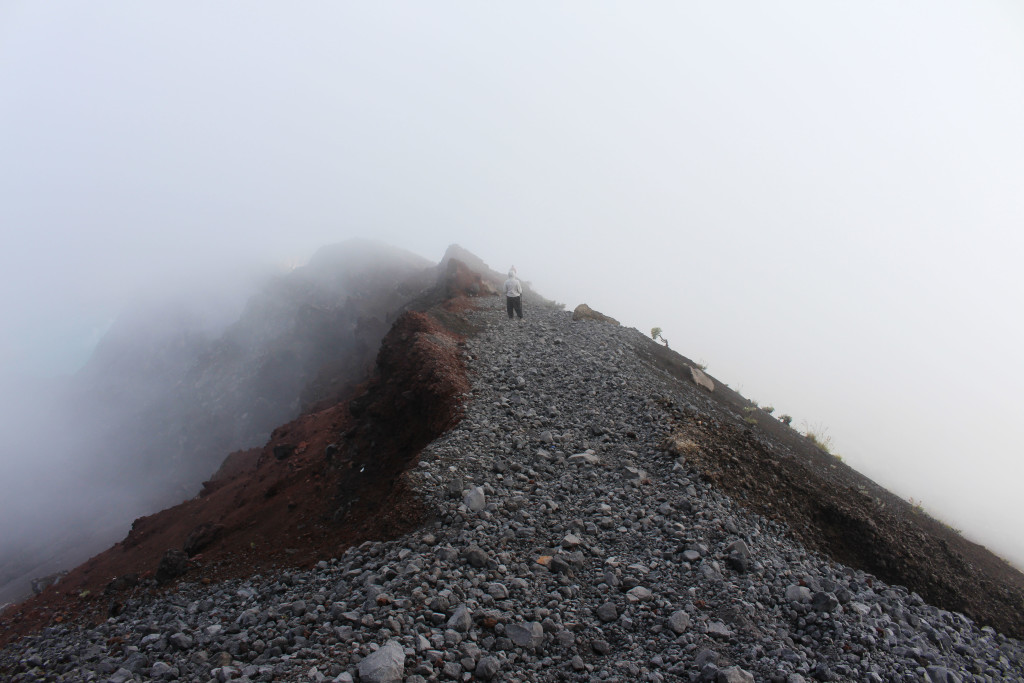
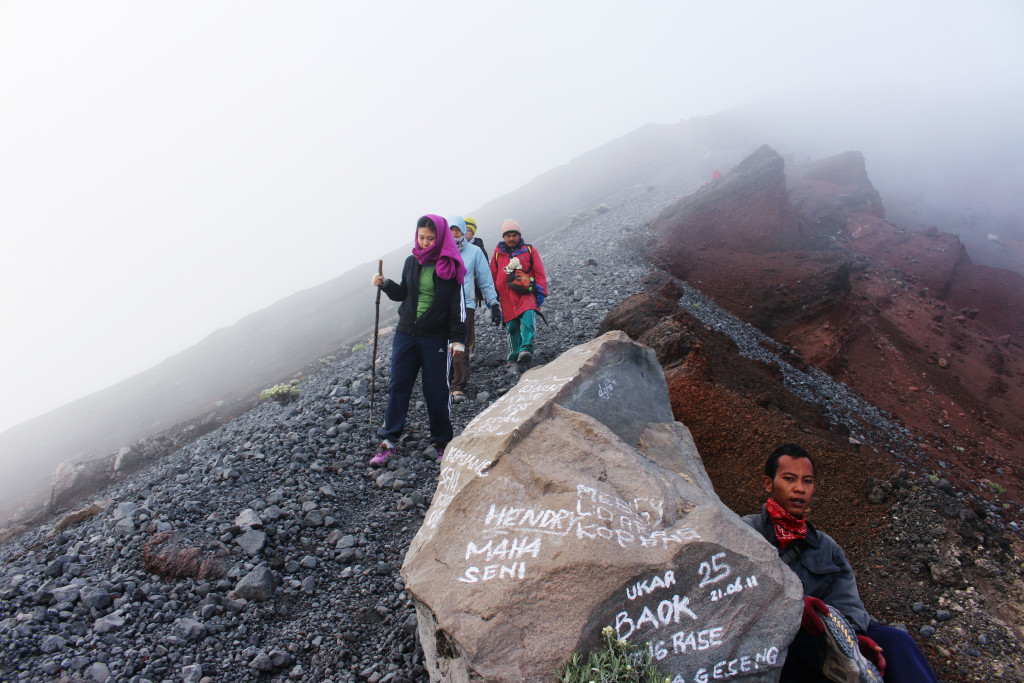 The summit trek is filled with rugged scree slopes, due to the elevation of the path. With every three steps you take, you will slide back down one step.
Scree is a collection of rock fragments that have been broken and are usually found below mountain cliffs, volcanoes or valley shoulders. Remember we said this trek would test your mental strength? Imagine 3 whole hours of walking on slopes after slopes filled with scree. There is seemingly no end to it! Stay strong. Persist. Reaching the summit is your end goal!
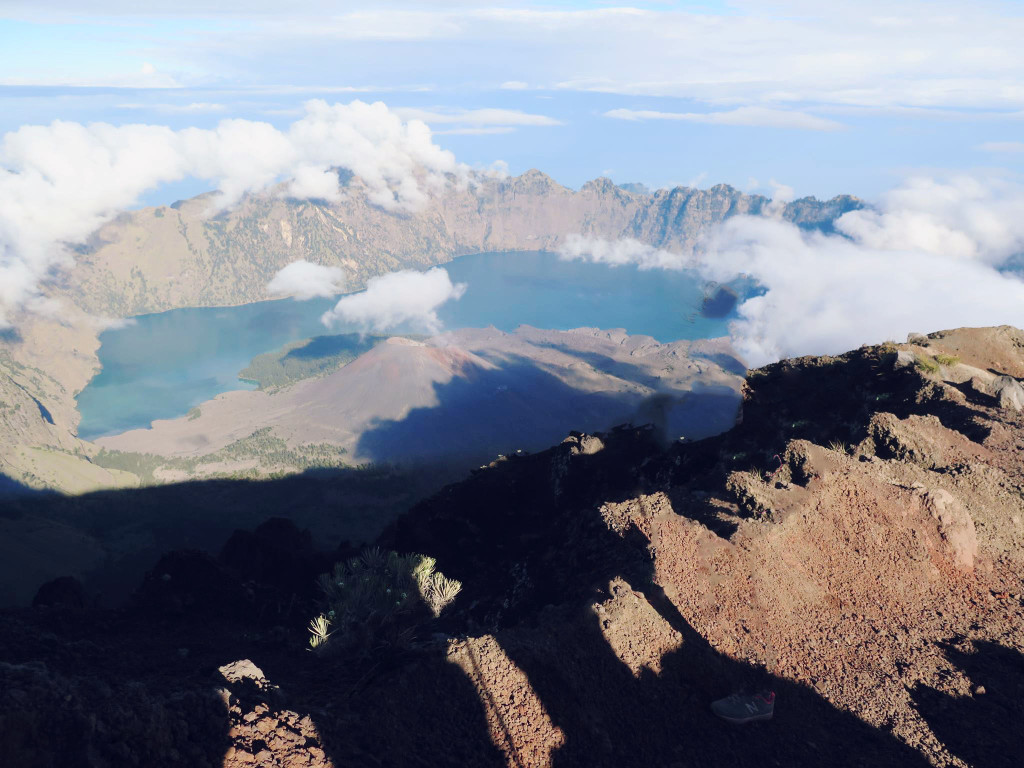 The feeling of conquering the volcano when you finally reach its peak is indescribable. You can celebrate your victory by taking out your snacks and drinks (we have heard some people carry bottles of beer up) and relish in the moment – it might be a long time coming before you get to experience this type of an adventure again.
It doesn’t matter whether you managed to catch the sunrise from the summit or not, because what matters is that you tried your best and did not give up. Scaling up to 3726m is a huge feat, especially if this is your first time trekking.
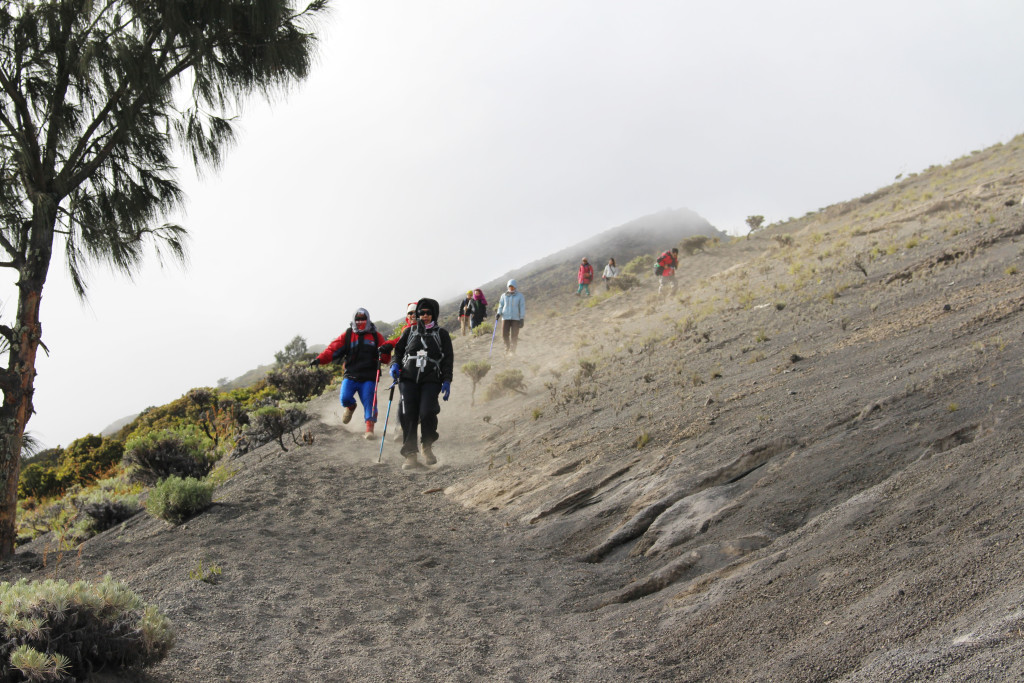
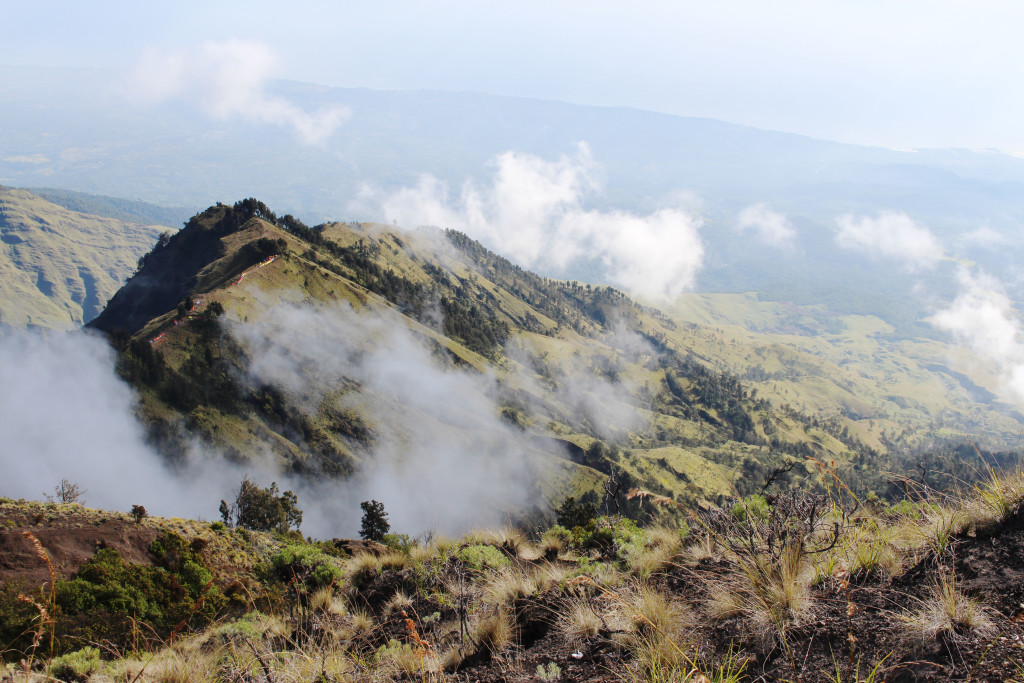 After climbing upwards continuously, it is now time to make your descend. Most people find that going down is harder than going up. Trying to maintain your speed and balance, while going down scree filled slopes isn’t as easy as you think. Also, you will find that running down might be more convenient than walking.
Your shoes would definitely be filled with small stones and sand at the end of it.
Lake Camp Area – second camp site and hot spring
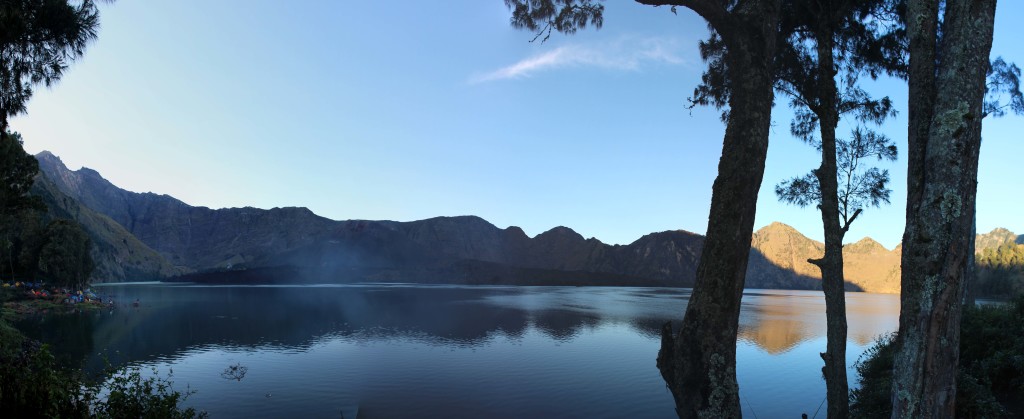
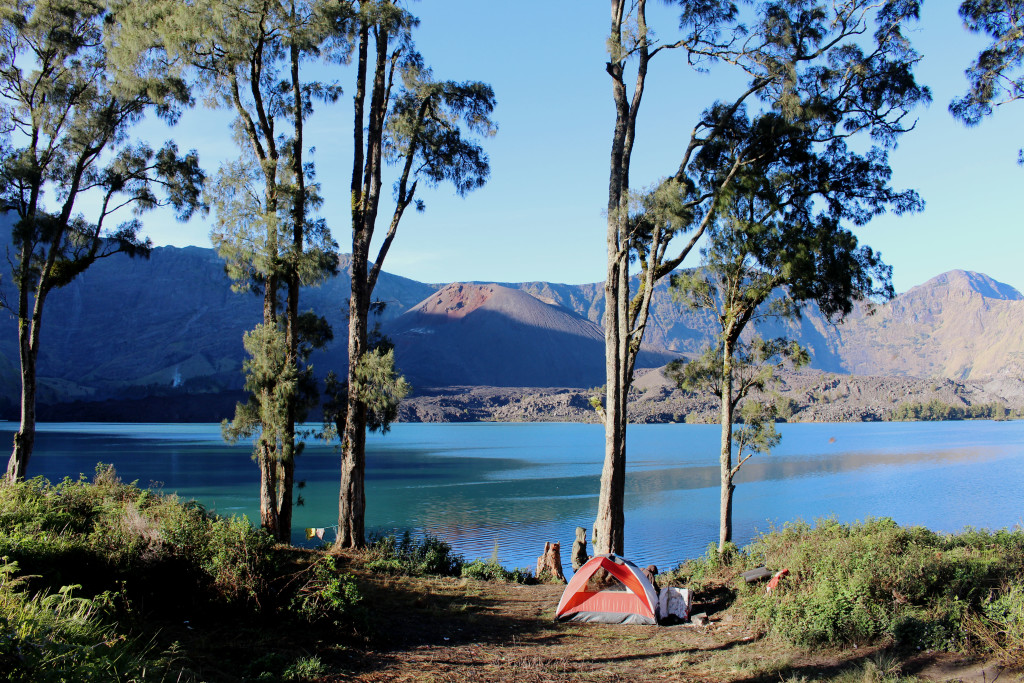 After a three-hour descend from the Crater Rim, you will get to the Lake Camp Area where you would spend your second night camping beside Lake Segara Anak. There are hot springs along the caldera for you to soak your aching body in and “clean” yourself after almost 2 days of not bathing. As you walk around the camp area you will find many people fishing around the lake, children laughing and campfires all around.
At the end of the day, we had a warm bowl of curry with white rice for dinner and dried our clothes by the campfire as we watched the lights flicker off from the skies.
Day 4
Plawangan 1 Crater Rim – Another scenic spot before the climb down

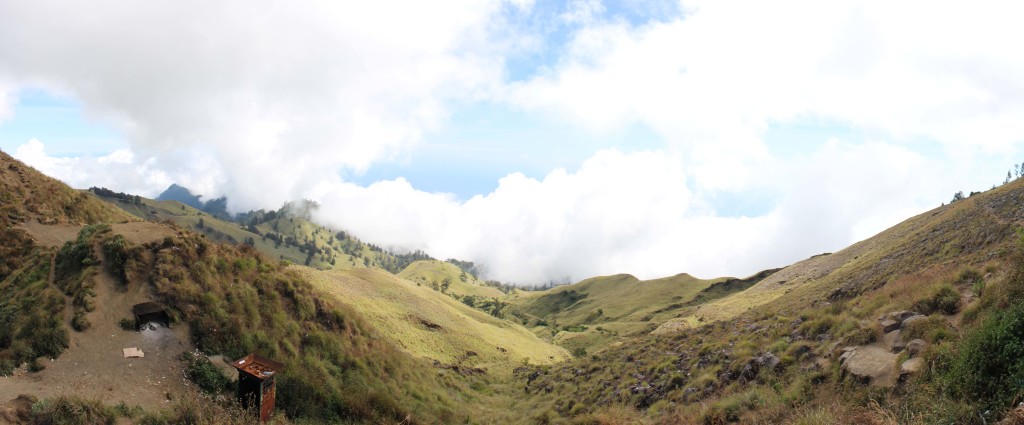 Waking up to the view of Segara Anak seemed so surreal. Especially when you know that by the end of the day, you would no longer be camping outside. After walking to the other side of the lake, you will begin to climb uphill to the opposite side of the crater rim.
The view from above is priceless; it showcases the entire caldera and a clear view of the summit. Turning backwards, you will walk through green pastures that reminded us so much of the Sound of Music that we almost broke out singing “The Hills are alive with the sound of music”.
Rinjani Trek Centre – the last lap
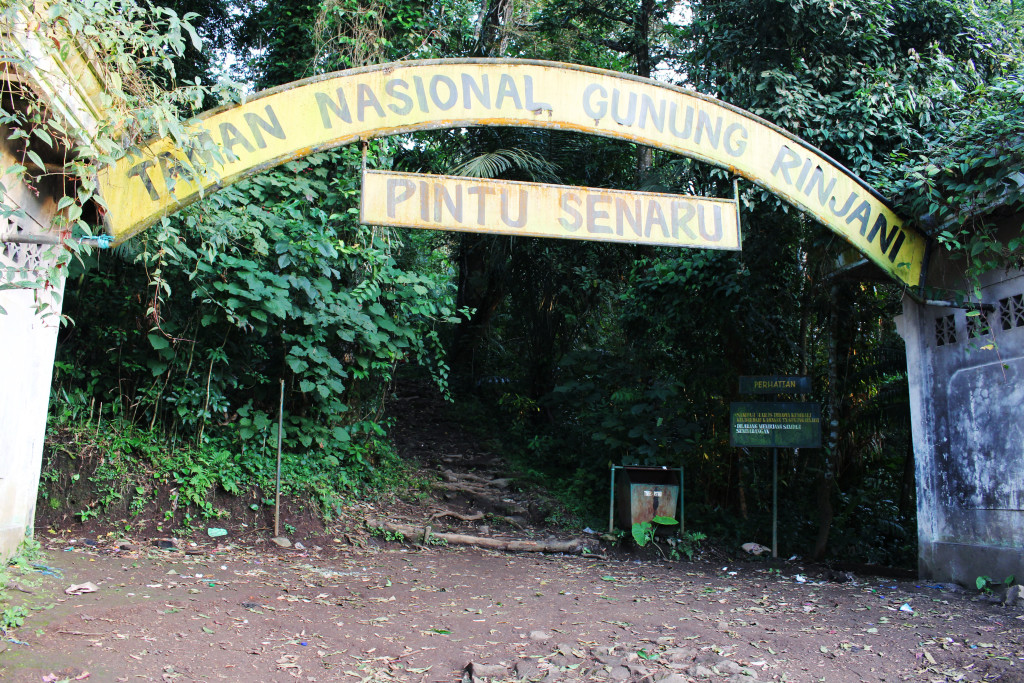 Your journey ends here where you have dismounted from the mountain and are back on flat land! There is finally sight of civilisation as you approach a small shop selling cold drink, snacks and motorcycles for rent.
Depending on which tour agency you have engaged, you would either be escorted to the airport by the end of the day, or stay another night at a hotel before heading for the airport the next day.
We stayed another night at Senaru before heading back home. It was worth it because we were all in desperate need of the shower and a good night’s rest.
We embarked on this trip with Sunny Sanjay, a passionate Singaporean mountaineer who organises mountain climbing trips for students and working adults alike. He helped us book our flights, engaged the guides (a freelance agency) and settled our accommodation and transport.
You can contact him on Facebook and enquire about the trips he organises each year – he also plans trekking trips to Nepal and Malaysia. We did the 4d3n hike from Sembalum Lawang where we hiked for 3 days 2 nights, with a 1-night (the first night) stay in a hotel located on the foot of Mount Rinjani.
Total Cost of Trip: SGD 800 inclusive of two-way flight tickets
There are many Rinjani tour agencies that you can find online. We encourage you to do some in-depth research before engaging a Rinjani tour agency, but here are some things to look out for:
- Make sure there is no hidden cost and that the entrance fee to Rinjani is paid for.
- Ask how much it will cost to engage a porter to carry your personal belongings if you do not intend to carry it up on your own. We paid about SGD 30 for a porter to carry our haversack.
- Check if the agency has insurance for your guide/porters.
- Make sure to let them know about any food allergies or food preferences (vegetarian).
- Enquire about airport transfer or wherever else you may be coming from or headed to.
Do remember to bring tips for porters/guides, a rough guideline would be around 30-40 sgd.
PS: We highly encourage you to train for your climb up Mount Rinjani, because there is no side exit for you to casually walk out of when you are on the mountain. Climbing a mountain does not require power weightlifting abilities, but you definitely need a fair bit of strength to haul your entire body + the haversack you would be carrying on the upward climb. Make a conscious effort to increase your stamina as the vertical climb and altitude difference will test your physical endurance. In your free time, grab a haversack, dunk in a 1.5 litre bottle and head out to hike, trek and/or climb the staircase every other week before embarking on your climb!
PPS: All photos were shot using Canon EOS 650D + kit lens
Below is a map of Lombok and the pit-stops we made around Mount Rinjani (some pins’ coordinates are not completely accurate, as we could not find the specific location on Google Maps):
Disclaimer: We embarked on this trip to Mount Rinjani in June 2014 and are not liable for any inaccuracies. Do email us at thekeepersmap@gmail.com if you spot any outdated information.

